Client handoff in V4: what to lock, what to leave editable
Snapelement · 10/9/2026
The handoff problem
You build a site. It looks great. The client is happy. You hand over the login credentials. Three weeks later, the client calls because the homepage "looks broken." What happened? They edited a Global Style Variable they did not understand, duplicated a section and left both visible, or changed a container's width from 100% to 50% because they were curious what the slider did.
This is not a client intelligence problem. It is a handoff design problem. If the editing interface makes it possible to break the site in two clicks, someone will break it in two clicks.
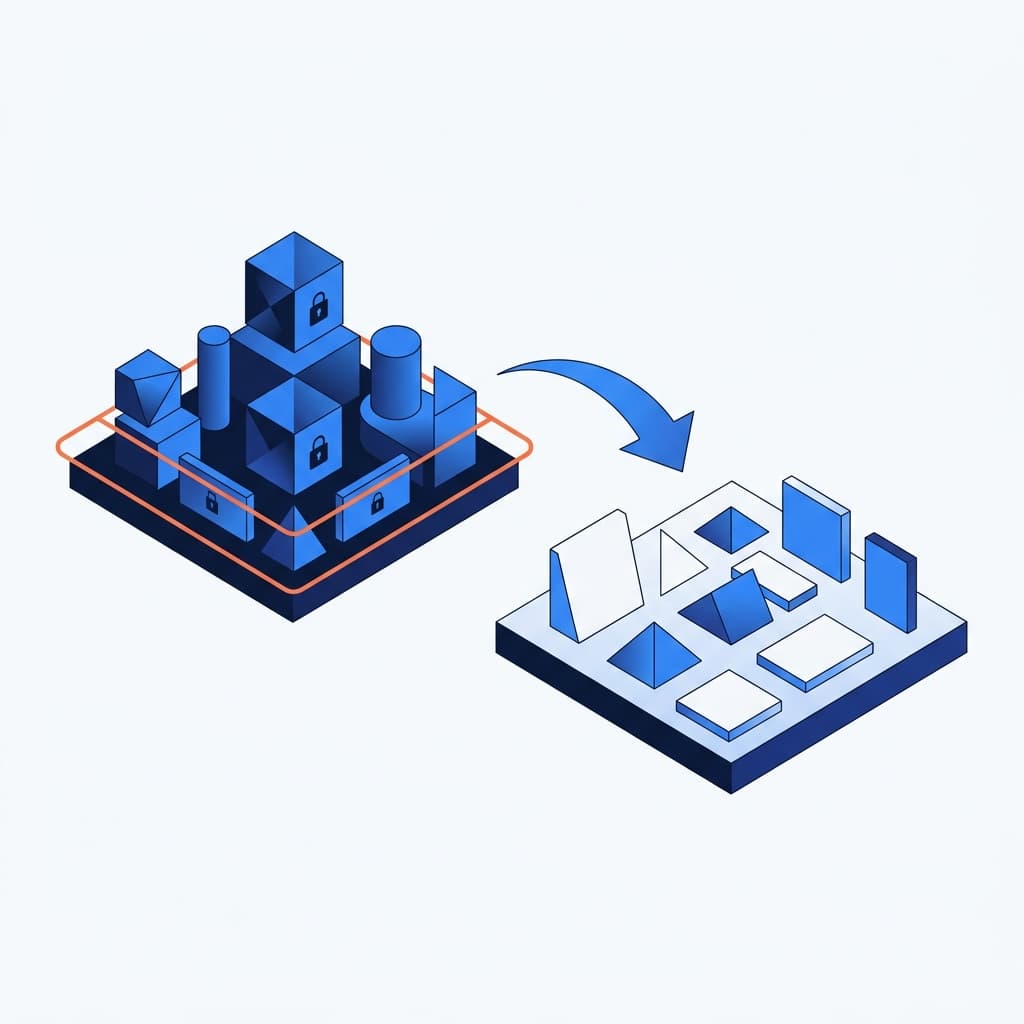
V4 gives you more control over what clients can access and modify than V3 did. The question is what to lock, what to restrict, and what to leave open for content editing.
Lock the design system
Your Variables and Classes define the site's visual identity. These should never be edited by the client unless they specifically hired you to give them full design control (which almost none of them did).
Variables
Variables control colors, spacing, fonts, and sizing across the entire site. If a client changes color-primary from blue to neon green, every button, link, and accent on every page turns neon green instantly. That is a powerful feature for designers and a dangerous feature for clients.
You cannot hide the Variables section in Elementor's UI through built-in settings (as of April 2026). The practical protection is Elementor's Role Manager.
Go to Elementor > Role Manager in the WordPress admin. Set the client's user role (typically Editor or Author) to restrict access. Disable "Design" panel access for the client role. This hides the design-level controls (including Variables) from users with that role while keeping content-level controls available.
Classes
Classes are less dangerous than Variables because modifying a Class requires knowing where to find it. But a client who opens a Class and changes the padding or font size will see the change propagate to every element using that Class.
The Role Manager restriction on Design access also limits Class editing. Clients with restricted roles can apply existing Classes to elements but cannot modify the Class definitions. This is the correct setup for most handoffs.
Lock the layout structure
The layout skeleton (containers, their nesting, their flex settings, their responsive behavior) should not be editable by the client. Here is what to lock and why:
Container settings
A client who changes a container from row direction to column direction will collapse a multi-column layout into a single column. A client who changes justify-content from space-between to center will cluster all navigation items in the middle. These are not obvious connections for someone who does not understand Flexbox.
Role Manager helps here. With Design panel restricted, clients cannot access container layout settings. They can only interact with the content widgets inside the containers.
Template structure
The header, footer, and any template-part templates should be locked to the client's role. Use the Role Manager to restrict template editing. Clients can edit page content but cannot modify site-wide template structures.
For critical pages (homepage, main landing pages), consider using Elementor's page-locking feature (if available in your Pro version) or instructing the client to never edit certain pages. Alternatively, set those pages to require a specific user capability for editing.
Leave content editable
Clients need to update certain things themselves. If every text change requires a support ticket, you will either be overwhelmed with requests or the client will stop updating their site. Neither outcome is good.
What to leave open
Text content. Headings, paragraphs, button labels, list items. The client should be able to edit any visible text on any page. This is the most common edit type and the least risky.
Images. Clients should be able to swap images in existing image elements. They should not be able to add new image elements or remove existing ones (which would break layout). The content-level editing restriction in Role Manager handles this: clients can change the image source but cannot add or delete widgets.
Links. Button URLs, text links, menu items. Clients frequently need to update where buttons point.
Form content. If the client manages their own email address for form submissions, they should be able to update the recipient email in the form's Actions settings.
What to restrict with instructions
Adding new sections. If the client needs to add new content sections, provide a documented process: "Insert template, choose from the approved templates, customize text and images." Do not let them build sections from scratch. They will create inconsistent layouts that do not match the rest of the site.
Blog posts. Clients should publish blog posts through the WordPress editor, not through Elementor. The blog post template (built with Theme Builder) ensures consistent formatting. If the client builds blog posts in Elementor, each post looks different because nobody follows the design system consistently when given an open canvas.
The client role setup
Here is a practical Role Manager configuration for a typical handoff:
| Setting | Client role (Editor) | Agency role (Admin) |
|---|---|---|
| Access to Elementor editor | Yes | Yes |
| Design panel (Variables, Classes) | No | Yes |
| Layout (Container settings) | No | Yes |
| Content editing (text, images, links) | Yes | Yes |
| Add/delete widgets | No (or restricted) | Yes |
| Template editing (header, footer) | No | Yes |
| Custom CSS | No | Yes |
| Site Settings | No | Yes |
This setup lets clients change words and pictures without touching structure, styling, or site-wide settings. It prevents 90% of the "client broke the site" scenarios agencies deal with.
Training documentation
Locking the interface is half the solution. The other half is training the client to use what you left accessible.
What the documentation should cover
How to edit text. Screenshots showing: open Page in WordPress, click Edit with Elementor, click on a text element, type your changes, click Update. Five steps. Keep the screenshots specific to their site, not generic Elementor docs.
How to swap images. Same format: click image element, click the image, choose from Media Library or upload new, click Insert, click Update. Include a note about image sizing: "Upload images at least 1200px wide. The site will handle the rest."
How to add a blog post. Use the WordPress editor, not Elementor. Add title, add content, select category, set featured image, click Publish. The Theme Builder template handles the layout automatically.
What not to touch. A clear list: "Do not edit the header or footer. Do not change colors in Site Settings. Do not delete sections. If you need structural changes, contact us." Frame this positively: "These elements are managed by us to ensure your site stays consistent and performant."
Who to contact when something goes wrong. Your support email or help desk. Define response time expectations. If the client knows they can reach you within one business day, they are less likely to try fixing things themselves.
Documentation format
Create a Google Doc or a page on the client's WordPress site (password-protected or restricted to logged-in users). Include screenshots for every step. Keep it under 10 pages. Longer documentation does not get read.
Record a 5-10 minute Loom video walking through the common editing tasks. Clients who would never read a document will watch a video. Send both. Let them use whichever they prefer.
Support boundaries
Define in your contract what is included and what costs extra. A reasonable boundary for most agencies:
Included: Content updates the client could do themselves but prefer to delegate. Text changes, image swaps, adding blog posts. These take 5-10 minutes each.
Extra cost: Structural changes (adding new page sections, changing layouts), design changes (new color scheme, font changes), new functionality (adding forms, new page types), and fixing things the client broke by editing elements they should not have edited.
Communicate this boundary at handoff, not when the first out-of-scope request arrives. Surprises erode client trust.
The handoff checklist
Before delivering the site to the client:
- Role Manager configured for the client's user role
- Client user account created with correct role (Editor, not Admin)
- Training documentation completed with site-specific screenshots
- Training video recorded
- Design system Variables documented (for your own reference, not the client's)
- All critical pages tested as the client's user role (log in as their account and verify the restrictions work)
- Support process communicated (contact method, response time, scope)
- Full site backup created and stored off-server
- Staging environment preserved (for testing future changes before pushing to production)
This checklist takes 2-3 hours to complete. It saves 10-20 hours of support in the first three months after handoff. Every agency that has tracked this math arrives at the same conclusion: structured handoff pays for itself fast.
Build Faster with Free Elementor Components
Browse thousands of free, copy-paste Elementor components. Hero sections, pricing tables, FAQ accordions, headers, footers, and more. They adopt your Global Styles automatically.
Browse Components